


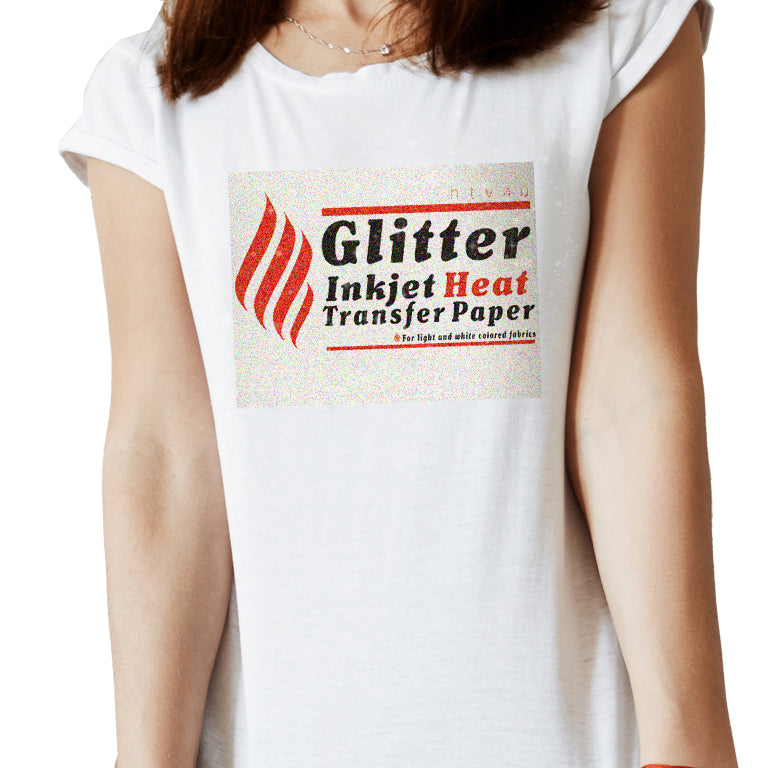
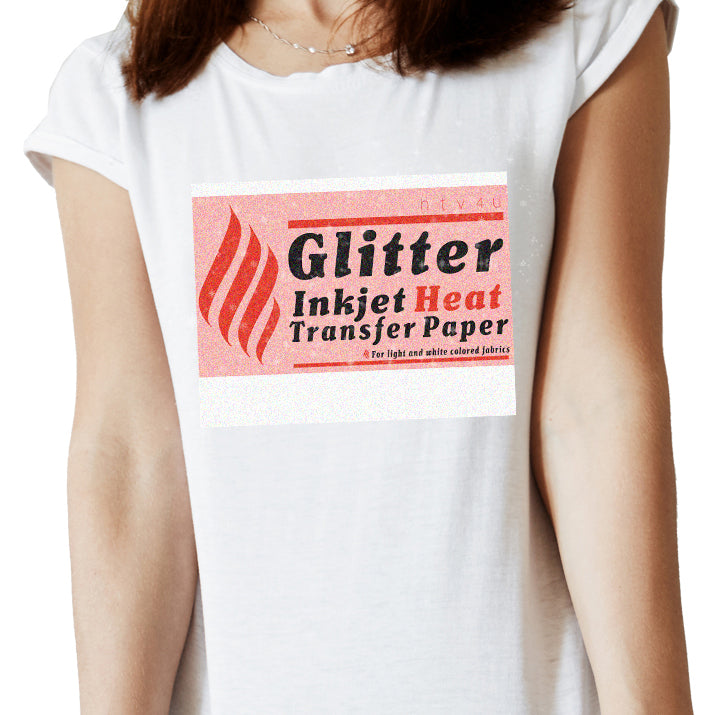
HT-Inkjet Glitter Heat Transfer Paper (Light/White)Printable glitter heat transfer paper for white or light colored fabrics! Easy to use - you can use your heat press or hand iron to press your design. Add a little sparkle to your garment with this glitter heat transfer paper! *This product is excluded from all promotional discounts and offers. |
|
| ITEMS YOU WILL NEED: |
| • White or light colored fabric • Prewashed Cotton, Cotton/Polyester blends • Heat press or iron (do not use steam) • Pillowcase • Parchment paper • Hard smooth surface (example: Formica, DO NOT USE AN IRONING BOARD) • Scissors • Pencil |
| STEP #1: PRINTING IMAGE: | ||||||||||||
| 1. Bring paper to room temperature before printing 2. Load the sheet into your printer so that it will print on the non-glossy (unlined) side 3. Print image/design on paper. Be sure to mirror or flip the image prior to printing 4. Use scissors to cut around the transfer artwork to remove excess
For laser printers not listed, we recommend following the manufacturer's instructions. Users should always conduct their own tests before proceeding. |
| STEP #2: TRANSFERRING IMAGE |
|
HEAT PRESS 1. Preheat press to 350º F – 375º F 2. Press garment for 3-5 seconds to release moisture and remove wrinkles 3. Place printed image face down on the garment (the lined side will be facing up) 4. Place parchment paper over transfer 5. Set to medium pressure for best results 6. Press for 20-25 seconds 7. Peel COLD for best results: wait 2 minutes for transfer to cool then remove the backing paper using a smooth, even motion |
|
HAND IRON 1. Preheat your iron to the "Linen" setting. Lay a pillowcase on the ironing surface 2. Place your garment on the pillowcase 3. Pre-iron your garment to release moisture and remove wrinkles 4. Place your printed image face down on the garment (the lined side will be the ironing surface) 5. Using a firm, steady pressure, glide the iron in a circular motion over the entire transfer for 2 minutes 6. After ironing each section of the transfer, glide the iron once more over the entire transfer to heat evenly 7. Peel COLD for best results: wait 2 minutes for transfer to cool then remove the backing paper using a smooth, even motion |
| WASHING INSTRUCTIONS: |
| • Turn the garment inside out • Wash in cold water • Use a mild detergent for better results • Do not use bleach or bleach alternative detergents • Remove the garment promptly from the washer • The color may bleed if left in the washer • Dry on low temperature |
| ADDITIONAL NOTES: |
| • When transferring several images to the same piece of fabric, be sure to cover all applications to ensure none of the transfer are damaged from direct exposure to heat. • Please be sure to evaluate the Standard Product Fact Sheet to ensure the product is compatible with your printer and ink. • ALWAYS test to determine the suitability of this paper for use with your equipment and your methods. The Seller’s and Manufacturer’s maximum obligation shall be to replace any paper that has been proven to be defective. Neither the Seller nor the Manufacturer shall be liable for any injury, direct or consequential, arising out of the use of, or inability to use, this paper. |
 |
 |
|
||
 |
 |
||
 |
 |
|
|
